

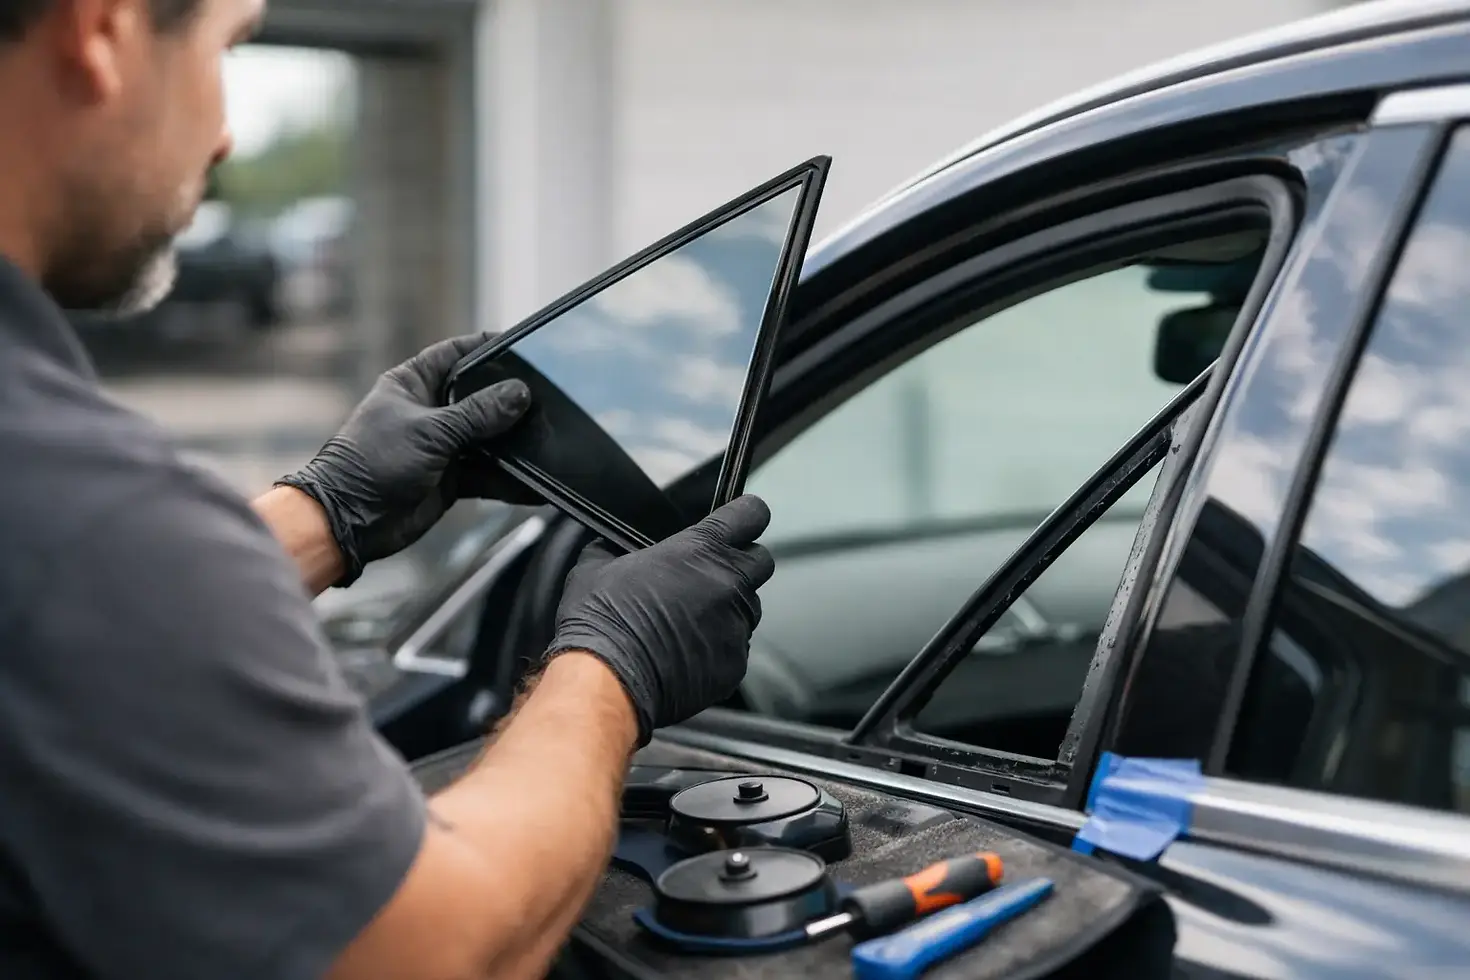
How to Replace Vent Glass Safely
That small triangular window by your front door may not look like a big deal until it is shattered, leaking, or rattling every time you drive. If you are searching for how to replace vent glass, you are probably dealing with broken glass, a break-in, or a window that no longer seals the way it should. The good news is that vent glass can be replaced. The real question is whether it is a smart DIY job or one better handled by a technician.
Vent glass is usually mounted tightly within the door frame or near the front edge of the side window assembly. On some vehicles, it is fixed in place. On others, especially older models, it may be part of a vent window setup with hinges or a latch. That difference matters because replacement can be simple on one vehicle and time-consuming on another.
How to replace vent glass without making the job worse
The first thing to understand is that broken vent glass is not just a cosmetic issue. It exposes the cabin to weather, theft, and more glass movement inside the door. If loose pieces fall into the window channel or regulator, the repair can get more expensive fast.
Before you touch anything, confirm exactly what is damaged. Some drivers call quarter glass and vent glass the same thing, but they are not always interchangeable. Vent glass is typically the small piece near the front door window, while quarter glass is more often near the rear side of the vehicle. Ordering the wrong part is one of the most common mistakes.
Once you identify the glass correctly, check how it is installed on your vehicle. Some vent glass pieces are bonded in place with urethane. Others are secured with brackets, rivets, or bolts hidden behind the interior door panel. This is where many DIY jobs slow down. You are not just swapping glass. You are often removing trim, weatherstripping, and part of the door hardware to get clean access.
What you need before you start
At minimum, most vent glass replacements require gloves, eye protection, trim tools, a socket set, glass cleaner, a vacuum, and the correct replacement glass. Depending on the vehicle, you may also need rivet tools, urethane adhesive, a caulking gun, razor tools, and clips or seals.
If the old glass was shattered, cleanup matters just as much as installation. Small glass fragments hide inside the door shell, around the belt molding, and in the weatherstrip. If they are left behind, you may hear rattling later or damage moving window parts.
Step-by-step: how to replace vent glass on most vehicles
Start by disconnecting the battery if your door panel includes power window switches, locks, or side airbags. It is a simple safety step and worth doing.
Next, remove the interior door panel carefully. Most panels are held by screws and plastic clips, often hidden behind trim caps, in the armrest, or near the door handle. Use trim tools instead of screwdrivers when possible so you do not crack the panel.
Once the panel is off, peel back the moisture barrier without tearing it. That barrier helps keep water out of the cabin, and it needs to go back in place. From there, inspect the inside of the door and locate the vent glass mounting points.
If the glass is still partly in place, remove any remaining fasteners or brackets holding it. If it shattered completely, vacuum out the loose pieces before doing anything else. Wear gloves the whole time. Tempered auto glass breaks into small cubes, but those pieces still cut.
On many cars, the run channel or front window guide has to come out to create enough room for the vent glass to slide free. This can mean loosening bolts deeper in the door and shifting the main door glass slightly. That is the point where DIY gets tricky. You need enough access to remove the old vent glass without bending the frame or misaligning the window track.
After the damaged piece is out, compare the replacement glass to the original. Match the shape, tint, mounting tabs, and any attached hardware. If seals or moldings are worn, replace them now. Reusing dried-out rubber can lead to wind noise and leaks even if the glass itself is installed correctly.
Set the new vent glass into position slowly. If your model uses adhesive, follow the cure time exactly and use automotive-grade urethane, not general household adhesive. If it uses brackets or bolts, tighten everything evenly. Too much pressure can stress the glass. Too little can leave it loose.
Before reinstalling the door panel, test the fit. Check the alignment, make sure the main window moves freely, and look for gaps in the seal. Spray a little water around the edge if needed to catch leaks early. Then reinstall the moisture barrier and door panel.
Where DIY usually goes wrong
Most failed vent glass jobs come down to one of three problems. The first is ordering the wrong glass. The second is damaging clips, trim, or the window track during disassembly. The third is poor sealing, which leads to water leaks, wind noise, or a glass piece that shifts later.
There is also the issue of hidden damage. If the vent glass broke during a break-in, the impact may have bent the frame, damaged the molding, or knocked debris into the regulator. You may not see that until the job is already halfway done.
For older vehicles, parts availability can be another problem. Some vent assemblies are sold only as a full frame unit instead of glass alone. That changes both cost and labor.
When replacing vent glass yourself makes sense
A DIY replacement can make sense if you are comfortable removing door panels, your vehicle uses a straightforward bolt-in design, and you have the right replacement part in hand. It also helps if the damage is limited to the glass and not the surrounding frame or hardware.
If you have worked on door regulators, side glass, or interior trim before, you probably know what to expect. The job still takes patience, but it may be manageable.
For a lot of drivers, though, the real cost of DIY is time. A repair that looks like a one-hour project online can turn into half a day if clips break, access is tight, or the fit is off on the first attempt.
When to call a professional for vent glass replacement
If your vent glass is bonded, hard to access, or part of a more complex assembly, professional replacement is usually the better move. The same goes for newer vehicles with tighter trim tolerances, advanced safety components in the door, or specialty glass.
A mobile auto glass service is especially useful when the vehicle is not secure or safe to leave exposed. Instead of driving with broken glass or trying to tape the opening shut, you can have the repair done at home or work. That is a practical solution for busy drivers, families, and anyone who cannot lose half a day at a shop.
This is also where experience matters. A qualified technician can identify whether the issue is just the glass or whether the seal, channel, or regulator needs attention too. That prevents repeat problems and helps the replacement last.
For drivers in areas like Glendale, Burbank, Pasadena, and the surrounding San Fernando Valley, mobile service can save a lot of hassle when a vent glass break happens at the worst possible time.
Cost, timing, and what to expect
Vent glass replacement cost depends on the vehicle, glass availability, and how the piece is mounted. Fixed vent glass is often less complicated than a vent window assembly with hardware. Labor rises when the door must be disassembled more deeply or when specialty trim is involved.
Timing can vary too. Some jobs are fairly quick. Others take longer because of adhesive cure time or because the glass is tied into the window channel and front guide. If you call for service, ask whether the quote includes cleanup, molding inspection, and mobile installation.
A cheap price is not always the best deal if the seal fails a month later. Good fit and proper installation matter more than saving a small amount upfront.
A few smart checks after the replacement
Once the new vent glass is in, pay attention over the next few days. Listen for wind noise at higher speeds, check for water intrusion after a wash or rain, and make sure the main window moves normally. If anything feels off, address it early.
A properly installed vent glass should sit tight, seal cleanly, and look like it came that way from the factory. That is the standard you want, whether you handle the job yourself or call a pro.
If you are weighing how to replace vent glass and are not fully confident once the panel comes off, that is your sign to stop before the repair gets more expensive. The right fix is the one that gets your vehicle secure, safe, and back to normal without wasting your time.


Comments